When your air conditioner thermostat isn’t working, it can be a frustrating experience, leaving you without proper cooling. There are typically five common reasons why your AC thermostat might not be functioning correctly, ranging from simple battery issues to more complex wiring problems. Understanding these potential causes can help you troubleshoot the issue and determine if a DIY fix is possible or if professional help is needed.
Check the Batteries in Your Thermostat
One of the most frequent and easiest-to-fix reasons for a non-responsive thermostat is dead batteries. Many digital thermostats rely on AA or AAA batteries for power, even if they are also hardwired. If your thermostat screen is blank, dim, or unresponsive, the first step should always be to replace the batteries. Most thermostats have a small compartment on the front or side that can be opened to access the battery bay. Ensure you insert the new batteries correctly, observing the polarity markings.
Inspect the Circuit Breaker and Power Supply
If your thermostat has power but the AC unit isn’t responding, the problem might lie with the power supply to the entire system. Check your home’s electrical panel for a tripped circuit breaker labeled for your air conditioner or HVAC system. A tripped breaker will be in the ‘off’ or middle position. Flip it completely off and then firmly back to the ‘on’ position. If the breaker trips again immediately, there might be a more serious electrical issue that requires a qualified electrician.
Examine Thermostat Settings and Mode
|
Our Picks for the Best Air Conditioner in 2026
As an Amazon Associate I earn from qualifying purchases.
|
||
| Num | Product | Action |
|---|---|---|
| 1 | Portable Air Conditioners, 3-IN-1 Swamp Cooler, Evaporative Air Cooler,Remote & Touch Control, 90°+90° Oscillation,LED Screen, Air Coolong Fan for Outdoor Indoor |

|
| 2 | Midea 5,000 BTU EasyCool Small Window Air Conditioner - Cool up to 150 Sq. Ft. with Easy-to-Use Mechanical Controls and Reusable Filter, Perfect for Small Bedroom, Living Room, Home Office |
|
| 3 | Dreo Tower Fan for Bedroom, 42 Inch 120° Oscillating Fan, 25dB Quiet DC Motor, 28ft/s Velocity Bladeless Standing Fan with 12 Speeds, 4 Modes, 12H Timer Cooling Fans for Home, Living Room |
|
| 4 | Windowless Portable Air Conditioner, 24.4" Small Evaporative Air Cooler for Room No Window, 3-Speed Settings, 4 Modes, 7H Timer, Remote Control, 4 Ice Packs, Quiet AC Unit for Bedroom, White |
|
| 5 | Dreo Tower Fan for Bedroom, 2026 Upgraded DC Motor, 28ft/s High Velocity, 20dB Ultra Quiet Standing Fan, 8 Speeds 4 Modes, 90° Oscillating Bladeless Fan for Indoors, Floor Fans with Remote, Black |
|
| 6 | 24" Windowless Portable Air Conditioner, 15H Timer & 120°Oscillation, 3-IN-1 Portable AC Unit with Remote, 2-Gal Tank, 3 Modes & 3 Speeds, Ultra-Quiet Ventless Swamp Cooler for Home Office, Off |
|
| 7 | SereneLife Portable Swamp Cooler Air Conditioner - 2500 CFM Airflow, 8 Gallon Water Tank Portable Evaporative Air Cooler for Room & Outdoors, WiFi, Humidifier & Fan Modes, Ice Packs & Remote Included |
|
| 8 | Windowless Portable Air Conditioners with Remote, Ventless Ac Unit Ductless Air Cooler,Hoseless Quiet Evaporative Oscillating Swamp Cooler,12H Timer & 4 Ice Box for Room Indoor Outdoor Office Bedroom |
|
| 9 | BLACK+DECKER Window Air Conditioner 10000 BTU, AC Window Unit Cools Up to 450 Square Feet, Window AC Unit with Remote Control, 3 Cooling Speeds and Fan Only Function, BD10WT6, White |
|
| 10 | Evaporative Air Cooler with Remote & Timer, 2200+ CFM Portable Fan That Blows Cold Air for Large Room, Home Office, Bedroom - 2.1Gal High-Capacity Tank, 3 Modes, Whisper Quiet 30dB & Sleep Mode |
|
Sometimes, the issue isn’t a malfunction but an incorrect setting. Ensure your thermostat is set to ‘Cool’ mode and that the desired temperature is lower than the current room temperature. If it’s set to ‘Fan Only’ or ‘Heat’, your AC unit will not engage. Also, check if there’s a ‘Hold’ or ‘Vacation’ setting activated, which might override your regular schedule. Familiarize yourself with your specific thermostat model’s manual to understand all its operational modes and settings.
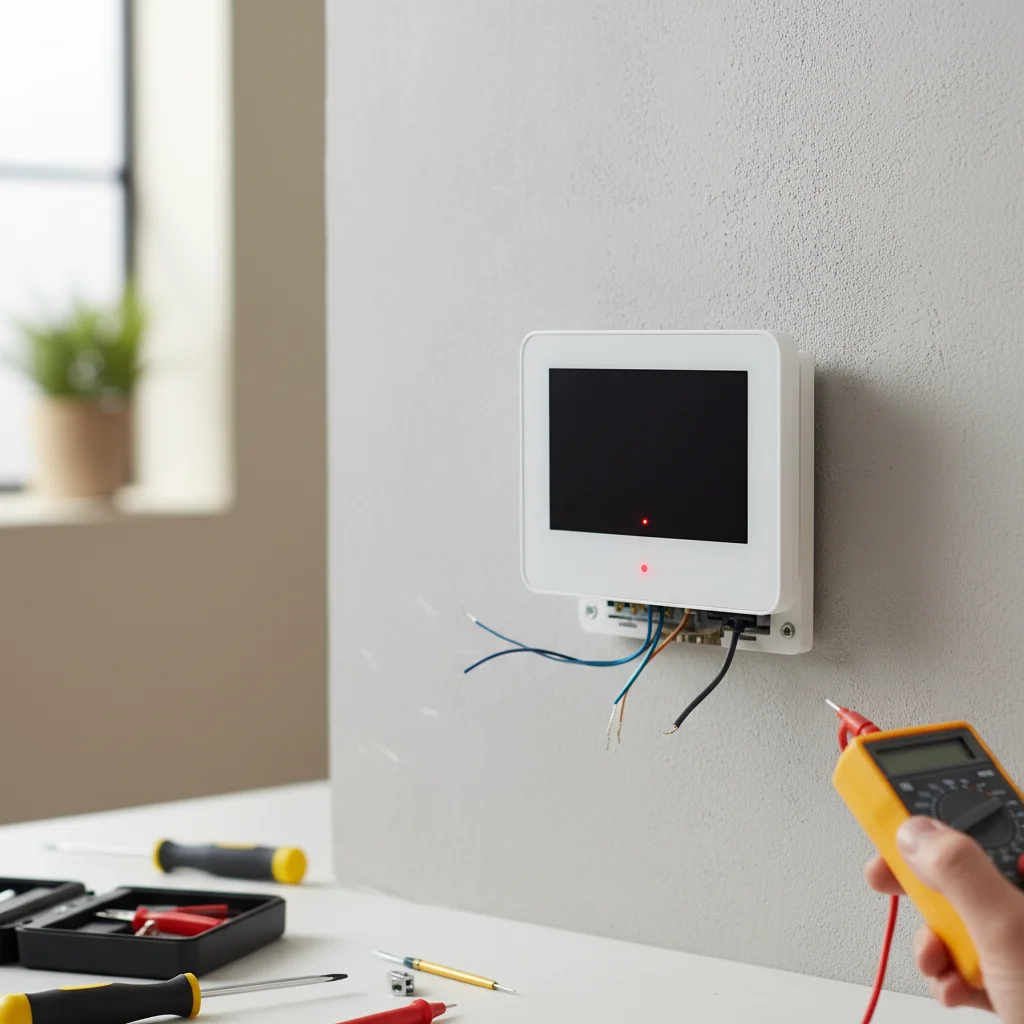
Clean and Inspect Thermostat Wiring
Loose or corroded wiring can prevent your thermostat from communicating effectively with your air conditioner. This is a more advanced troubleshooting step and should only be attempted if you are comfortable working with low-voltage electrical components. First, turn off the power to your HVAC system at the circuit breaker. Carefully remove the thermostat from its wall plate. Inspect the wires connected to the terminals for any signs of corrosion, fraying, or looseness. Gently tighten any loose screws and clean any visible corrosion. If wires are damaged, they may need to be replaced by a professional.
Consider Thermostat Calibration or Replacement
Over time, thermostats can lose their calibration, leading to inaccurate temperature readings and inefficient cooling cycles. You can test your thermostat’s accuracy by placing a reliable thermometer next to it and comparing the readings. If there’s a significant discrepancy (more than a few degrees), your thermostat might need recalibration or replacement. Older, mercury-based thermostats are particularly prone to calibration issues. If your thermostat is old or frequently malfunctions despite troubleshooting, upgrading to a newer, more reliable model, such as a smart thermostat, can often resolve persistent problems and offer better energy efficiency.
- Always turn off power before inspecting wiring.
- Replace batteries annually as a preventative measure.
- Consult your thermostat’s manual for specific troubleshooting steps.
- Consider professional help for complex electrical or HVAC issues.
- Upgrade to a smart thermostat for enhanced control and diagnostics.
Get our weekly buyer guide
Practical specs, not advice. Unsubscribe anytime.